Hawaiki Keyer 5 - the industry’s most sophisticated Green & Blue Screen Keyer now with AI tracking
Hawaiki Keyer 5 builds on the best-in-class keying tools of Hawaiki Keyer 4 and enables you to use them more efficiently with even more powerful and intelligent tools for isolating your foreground.
It's easier than ever to maintain hair and other fine detail by creating secondary keys and dynamic garbage mattes with the new AI-powered face & object tracking and the new realtime edge tracking. And the new Crop tools allow you to exclude the edges of the screen and speed up the rendering of complex keys.
Refining your composite is faster and simpler with all the edge tools that were in a separate plug-in now integrated into Hawaiki Keyer. And we've expanded the compositing toolset with even more edge operations and the ability to resize and composite the background within the plug-in.
On top of this we've refined the UI and operation of the plug-in and optimized it for Apple silicon (M1 & M2) and HDR.
Tutorial: Hawaiki Keyer 5 - New Features
New in Hawaiki Keyer 5.0.1
- macOS 13 Ventura officially supported.
- Despill - Use Background: foreground image no longer disappears when the Background drop zone/image well is empty and Use Background is enabled.
- Edge Tools - Background Match: foreground image no longer disappears when the Background drop zone/image well empty and Background Match is enabled.
- Edge Tools - Fine Edge - Use BG: foreground image no longer disappears when the Background drop zone/image well empty and Use BG is enabled.
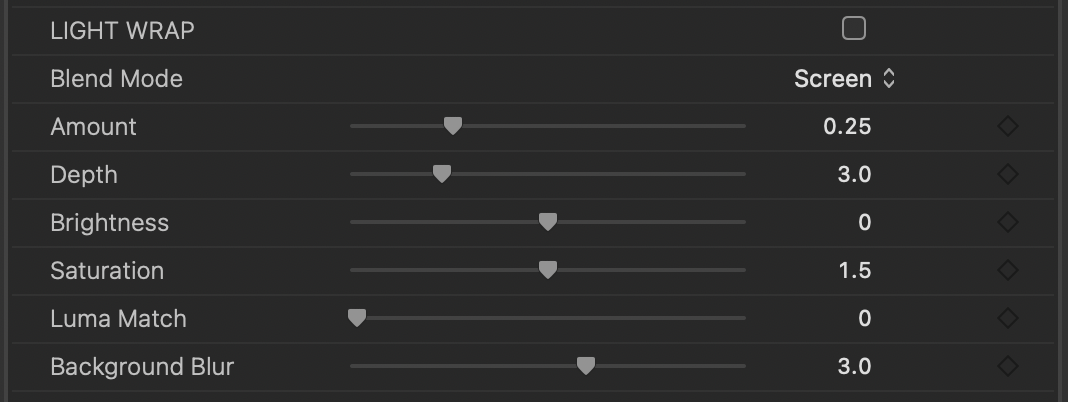
- Comp Tools: Fix for Light Wrap displaying incorrectly.
- Help: Keying Technique section refined and updated - including more shooting tips and links to tutorials.
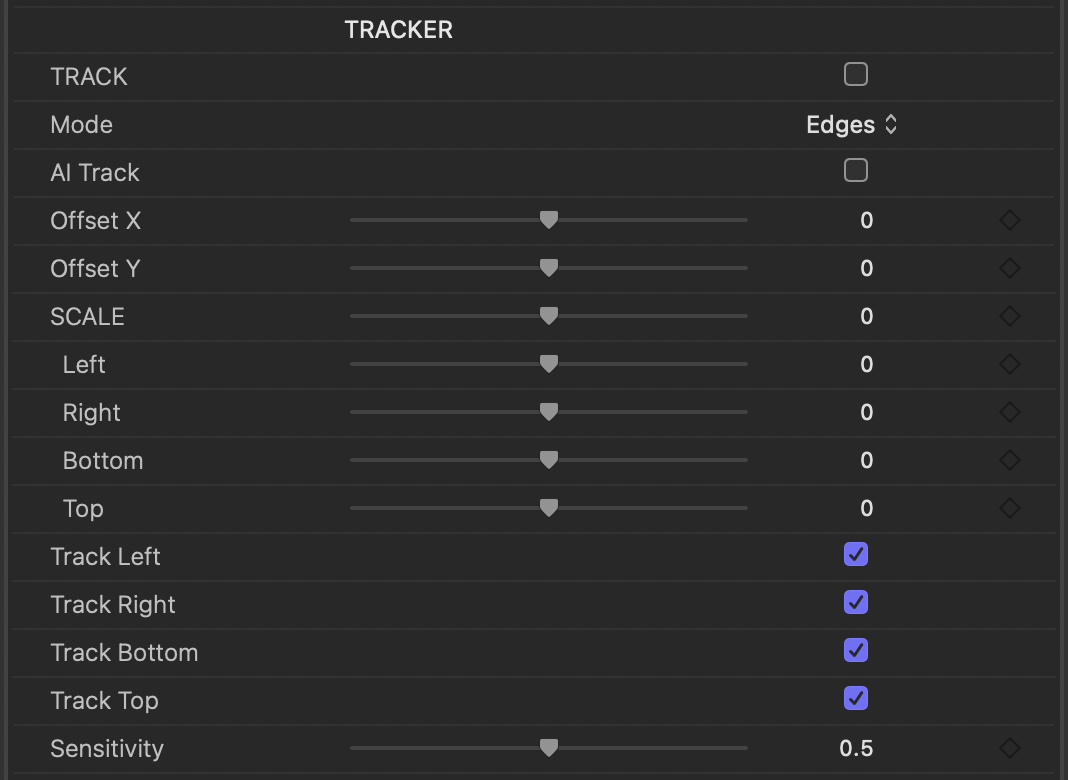
Tracking
Hawaiki Keyer now provides automatic tracking of the edges of your foreground as well as centre tracking. Both modes work with the new AI Track.

Either track the centre of the foreground subject, setting the shape matte with the onscreen controls, or track the edges of the foreground automatically and refine with the scale sliders that appear. When AI Track is enabled you are tracking the centre or edges of a face or object. You can use the new Track edges option to create a dynamic garbage matte that moves with the foreground subject.
AI Track
AI-powered tracking of faces and objects.

Face tracking is useful for creating trackable head mattes that allow you to pull a secondary key on the subject’s hair.
Object tracking is an alternative to the standard Hawaiki Keyer tracking. It’s a good option when the screen doesn’t cover the entire shot, when a light or other fixture is in the shot or if the screen has a lot of tracking markers.
AI Track works with both centre and edges tracking modes. Centre works best for face tracking if the subject’s distance to the camera doesn’t change. If the subject is moving away from or towards the camera you can use the Edges mode and the scale controls to create a head matte that automatically resizes.
Sensitivity slider
Increase sensitivity to expand what the tracker sees as foreground - useful to pick up areas with heavy spill that the tracker is excluding such as the edges of hair. Decrease Sensitivity to reduce what is defined as foreground - can be helpful if stray lighting and reflections are being picked up as foreground. The Sensitivity slider is most useful when Mode is set to Edges. NB. This slider is not available when AI Track is enabled.
Track Area
You can set now the maximum part of the frame that is used when tracking to either the whole Frame, the area defined in Crop or to the onscreen controls (setting to OSCs is best used when Track Mode is set to Edges). Then further refine with the Left, Right, Bottom, Top sliders which work relative to the box defined in Track Area.

Shape
Secondary matte and tracking controls have been moved into the Shape section and the size and position of the shape matte is now easier to set with two onscreen controlswhich replace the sliders used in HK4.
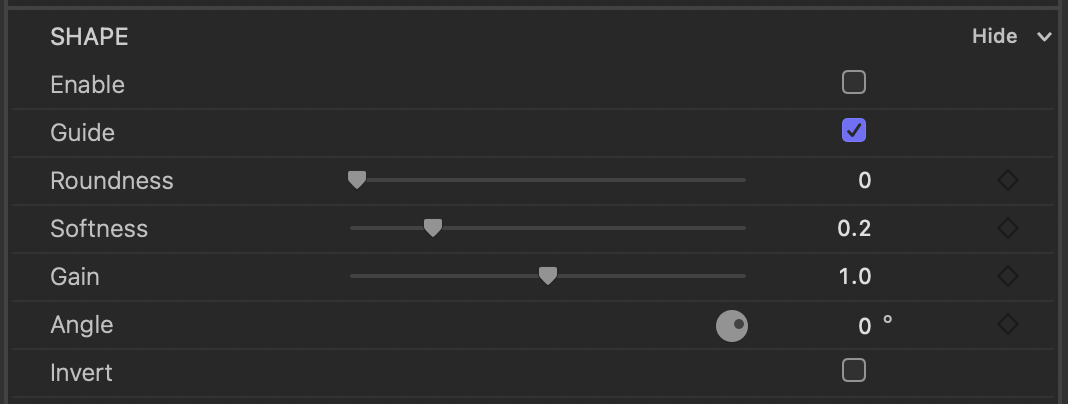
As with Hawaiki Keyer 4, when Secondary is enabled the Secondary key is applied within the shape matte and the Primary key outside of it. New in Hawaiki Keyer 5 the shape matte can also be used as a garbage matte (or, when inverted, holdout matte) with either the Primary or Secondary keys. By default when Shape is enabled and Secondary disabled the shape matte works on the Primary key. Enable Secondary and disable Primary (a new checkbox in HK5) to have the Shape matte work with the Secondary keyer. This can be a useful way to test different keying strategies by switching between the two keys.
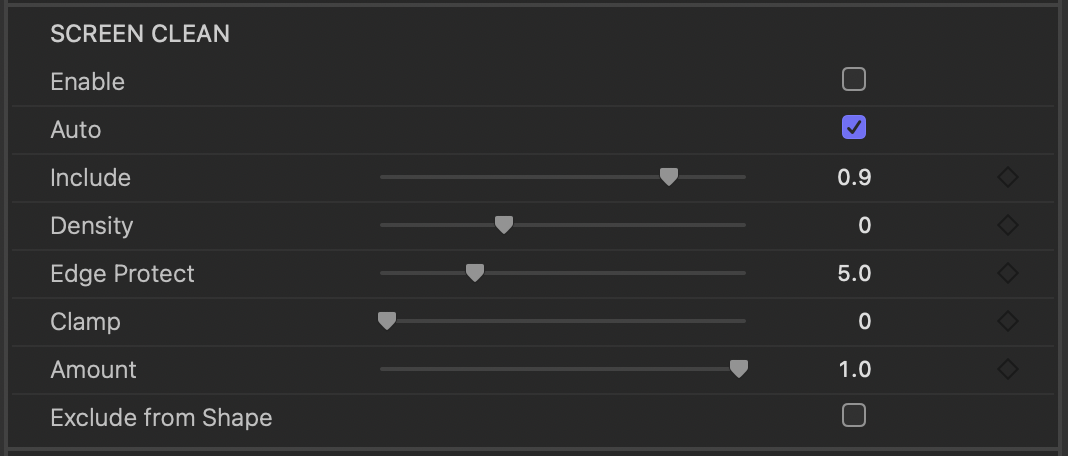
Screen Clean - Exclude from Shape
Enable to exclude the Screen Clean process from the area inside the Shape matte. Makes it easier to pull a softer Secondary key while clearing the edges of the screen.
Crop
Quickly create a garbage matte and speed up rendering with complex keys. Crop doesn’t apply a matte at the end of the chain, it defines the pixels that are processed from the beginning of the chain, for both image and matte operations.
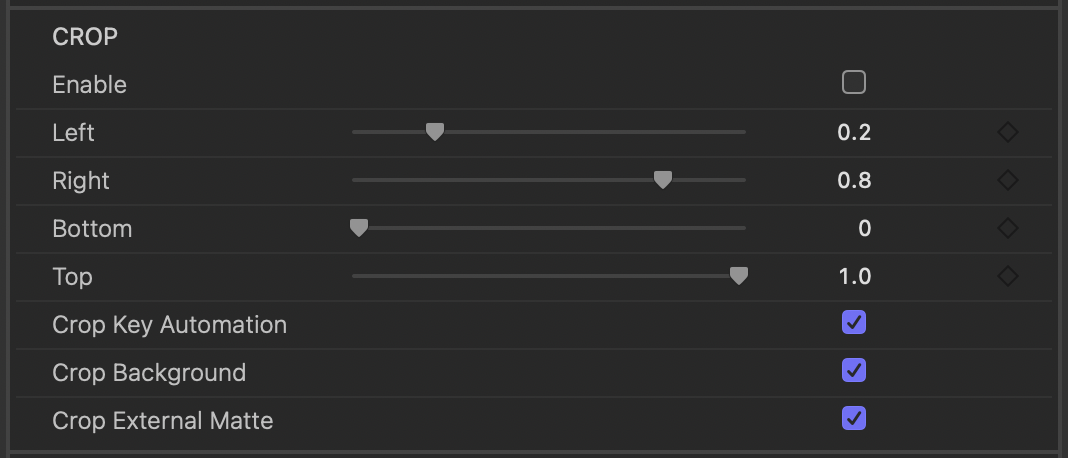
Crop Key Automation - limits the automatic screen extraction to the area defined by the crop. If you apply crop after you’ve finessed your key you may wish to disable this as the key may change, depending on how uniform your screen is. Normally the matte will soften when Crop Key Automation is enabled as the dark edges of the screen are excluded.
Image Processing Pipeline
Hawaiki Keyer 5 utilizes a new image processing pipeline that provides Metal GPU acceleration. It is built with FxFactory’s new node-based compositing engine FxCore and optimised for Apple silicon (M1 and M2) with better handling of HDR footage. AI Track makes uses of Apple’s Neural Engine when using computers with the M1 or M2.
Edge Tools
All the processes available in the HK4 Edge Tools plug-in are now incorporated into the main Keyer plug-ins:
Edge color and blur controls, Fine Edge and Edge Blend have been added along with a new Premultiply process that combines the background and foreground where the matte is transparent.
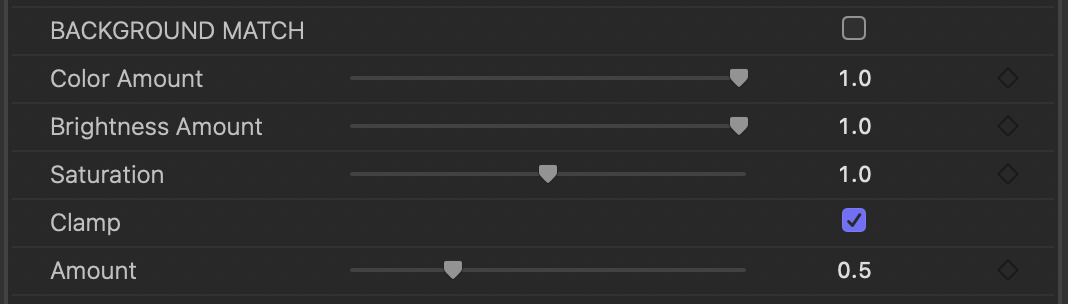
Background Match has been revamped and can now match color as well as brightness. There is also better handling of composites where the background is very bright and the foreground dark.


Resolution Independence
Maintain consistent effects when changing resolution.

The baseline parameter can be used to set the relative strength of the parameters - increasing will decrease the strength. Or you can set it to match the behaviour you are used to in Hawaiki Keyer 4 - simply match the Baseline to the resolution of your footage. Lastly, if Resolution Independence is not enabled and you then copy and paste an instance of the keyer to a clip with a different resolution - enable Resolution Independence on the new clip and set the baseline to the width of the first clip - this will ensure the parameter strength matches.
Resolution Independent Parameters:
- Denoise: Strength
- Matte: Shrink - Grow
- Matte: Blur
- Matte Cleaner: Fill Holes
- Outer Matte: Expand
- Edge Matte: Width
- Edge Replace: Sample In
- Edge Replace: Fill
- Light Wrap: Background Blur
- Light Wrap: Depth
- Edge Blend: Blend
- Despill - Use Background: Depth
- Comp Tools - Image - Smoothing: High Pass
- Comp Tools - Image - Smoothing: Low Pass
- Comp Tools - Image - Pixelate: Scale
- Comp Tools - Image: Blur
- Comp Tools - Image - Sharpen: Radius
Color Space
Option to override the default working space of the plug-in for the primary and secondary keyers, despill and color correction.
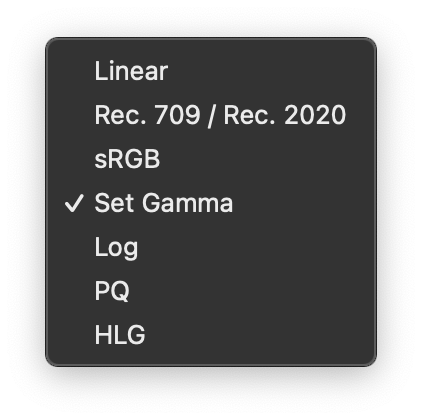
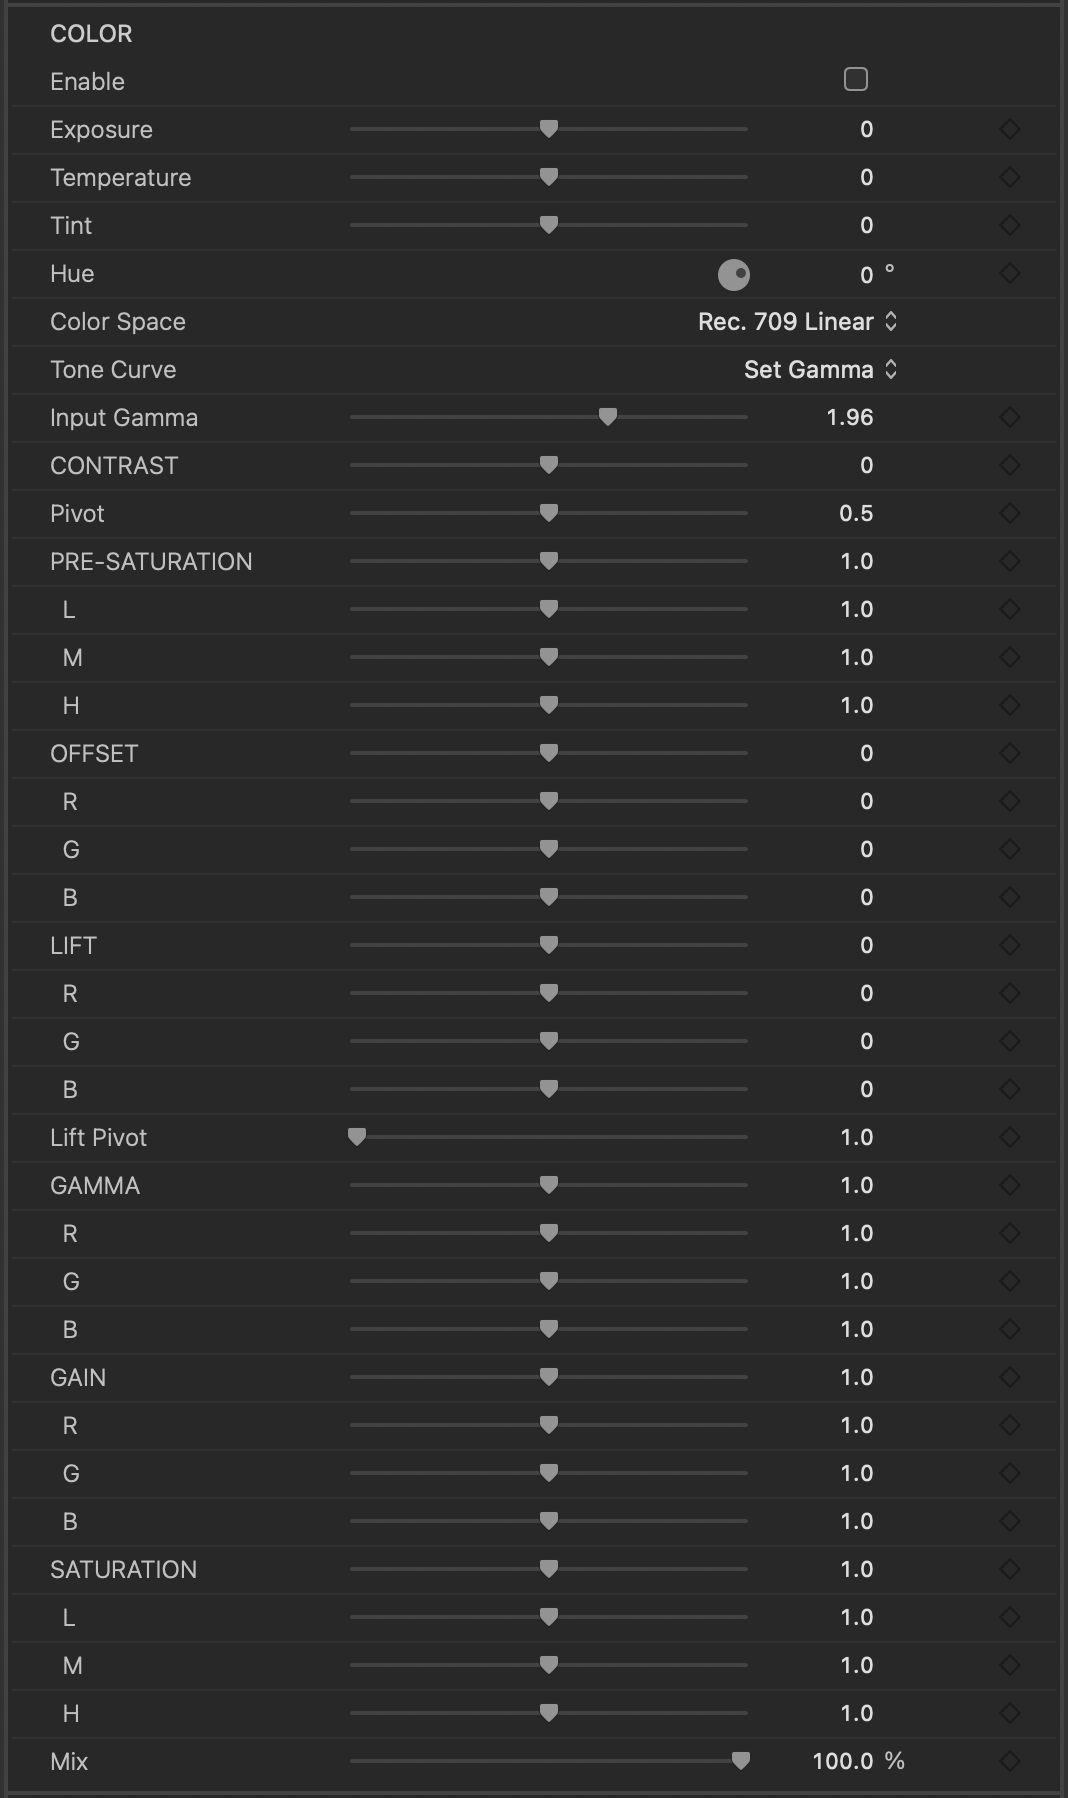
Color
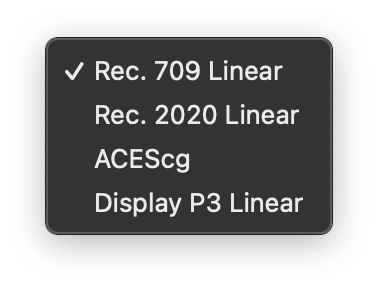
In the Color section you now have the option to change Color Space (709, 2020, ACEScg, Display P3) and Tone Curve (transfer function) to match your preferred color workflow.
New controls include Exposure, Temperature and Tint, Hue, Contrast (with Pivot), Lift Pivot, Offset and Pre-saturation. There is also a new Mix slider to control the overall effect.
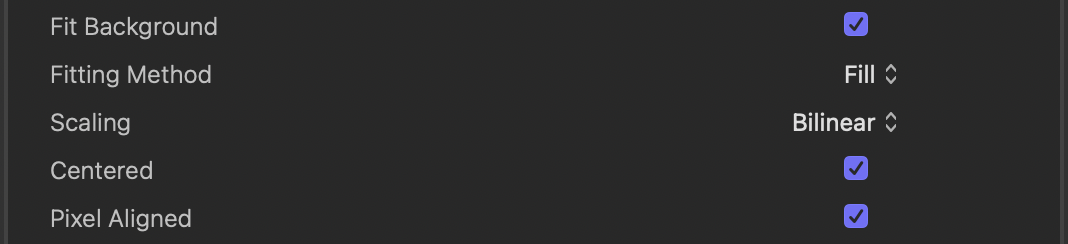
Fit Background
Scales the background image to match the foreground within the plug-in. Options to Fit, Fill or stretch with different scaling and positioning controls.
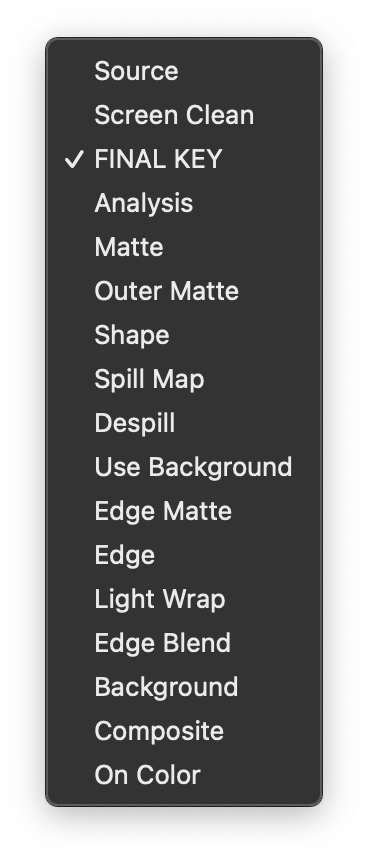
Views
New views include:
Shape - shape matte as defined in the shape group.
Background - shows the background used in the dropzone/image well - useful to see if any scaling is required.
Composite - shows the foreground comped over the background. Requires the Background dropzone/image well to be populated. An alternative to having the host app do the final composite.
Edge - the final output multiplied by the edge matte comped over black. As such, unlike the other views, it updates when you toggle the checkboxes for edge operations. Allows you to compare the various edge operations and their combinations as well as evaluate the impact on the edge of any global changes you make to the image and matte.
Edge Blend - now that it is incorporated in the main plug-in.
Comp Tools
The Edge Tools plug-in has been expanded and renamed Comp Tools and includes options for processing the matte (alpha channel) and image. Image processes include color correction, blur, pixelate, smoothing and despill. Matte processes: gain, clip, shrink-grow, blur, matte cleaner. You can now use an external matte and the Analysis view from Hawaiki Keyer is available.
Allows you to use Hawaiki Keyer’s advanced image and compositing tools with any keyer and on any type of footage.
Hawaiki Slice
- New color space and tone curve (transfer function) options.
- Value UI (numerical readout) runs on GPU, Value checkbox now also an onscreeen control in Motion and FCP.
- Downscale Input option to improve realtime playback with 6k+ footage on older and entry level Macs.
Misc Changes
- Despill - change the color space used. Rec.709 Linear (the default) provides the most neutral look, even with HDR material. Select Rec.2020 Linear, ACEScg or Display P3 Linear for a different look - normally the resulting despilled image is slightly warmer.
- Matte Shrink replaced with Shrink - Grow. Uses a different method that produces smoother results, and you can now also expand the matte.
- External Matte - pick the channel to use - Red,Green,Blue or Alpha (HK4 always used Red and expected a black and white matte).
- New modes to combine the External Matte: Max, Multiply, Min, Subtract (Key-Ext), Subtract (Ext-Key).
- Enable checkboxes for Despill and Matte - allows you to quickly toggle on and off to see changes.
- Global “Advanced” control replaced with Fine-Tune control for both the Primary and Secondary Keyers.
- New built-in Help - click on the banner image at the top of the inspector, or the help button next to it, to access. In Final Cut Pro and Motion there is also an onscreen button that performs the same function. The help page will open in your default browser and is available offline.
Quick View checkboxes (Matte, Analysis, Source) now work in reverse - top and left has precedence. This seemed slightly more logical to us - as you move right to left or bottom to top you override what is below/to the right of it.
The Quick View buttons are designed to override the main View menu so that you can quickly check something by flicking the button on and off without having to drill down through the View menu.
- Edge Blur and transparency processes improved.
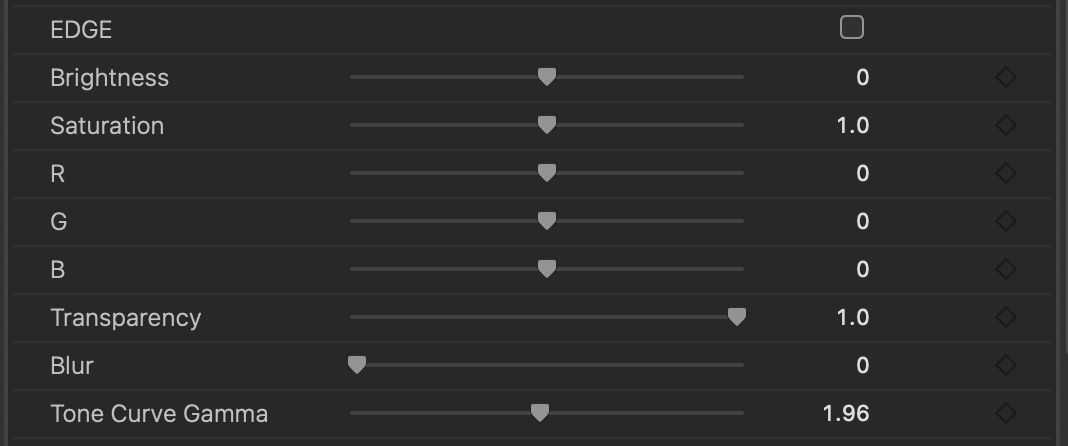
- Edge - Tone Curve Gamma: Edge Brightness and RGB can now work in a gamma space which you can set with the Tone Curve Gamma slider - defaults to the Final Cut Pro default of 1.96. Colour adjustments are more fine grained especially when when the foreground is dark. Set to 1.0 to revert to the current behaviour in HK4 Edge Tools.
- Matte Check - off by default.
- White Balance moved to its own group.
- Control over the input clamping to the main keying routines. HK4 and earlier clamped at 0.001 and 1. Default is now 0.001 and 2 which handles very bright screens and HDR footage better (you can go beyond the slider range and enter values for min down to -10 and max up to 1000). Enable Fine-Tune in the Primary and Secondary sections to see these controls.
- Output clamping option with min and max controls. Off by default.