VIEW
Menu
7 choices
SourceEffectOn ColorColor OverlayKeyMaskShape
Version 1.0
Version 1.0
Precise, targeted colour enhancement.
Hue Finesse combines Hawaiki’s expertise in colour grading, colour science and keying to let you precisely finesse the colour and exposure of any part of your image. It corrects eight distinct hue bands and goes beyond standard selection tools with advanced control over the mask that defines each band.
| macOS | macOS 14.7 Sonoma or later (macOS 15 Sequoia, macOS 26 Tahoe) |
|---|---|
| FxFactory | 8.0.22 or later |
| Applications | DaVinci Resolve 20 or later, Final Cut Pro 10.6 or later, Motion 5.6 or later, Premiere Pro 22 or later, After Effects 22 or later |
Hawaiki Hue Finesse is installed and licensed through FxFactory. Install FxFactory, then install the trial of Hawaiki Hue Finesse from FxFactory’s catalogue or from the download link. The trial watermarks the output until you buy a licence; buying unlocks the installed plug-in.
| DaVinci Resolve | The Effects Library (OpenFX, under Hawaiki). |
|---|---|
| Final Cut Pro | The Effects Browser, in the Hawaiki category. |
| Premiere Pro | The Effects panel, under Video Effects. |
| After Effects | The Effects & Presets panel and the Effect menu. |
| Motion | The Library, under Filters. |
Drag the effect onto your clip to get started. Keep FxFactory up to date: many problems are solved by installing its latest version.
We’re happy to help by email. To get you an answer quickly, please tell us:
Write to support@hawaiki.co. We’re always happy to look at your footage and to hear what you think we could improve. See also the Support page.
Every control of Hawaiki Hue Finesse, in the order the effect shows them. The eight hue bands share the same controls.
Set the Tone Curve (transfer function) used in the Hue bands.
When Tone Curve Image is enabled in the Configuration group this menu only sets the tone curve for the masks.
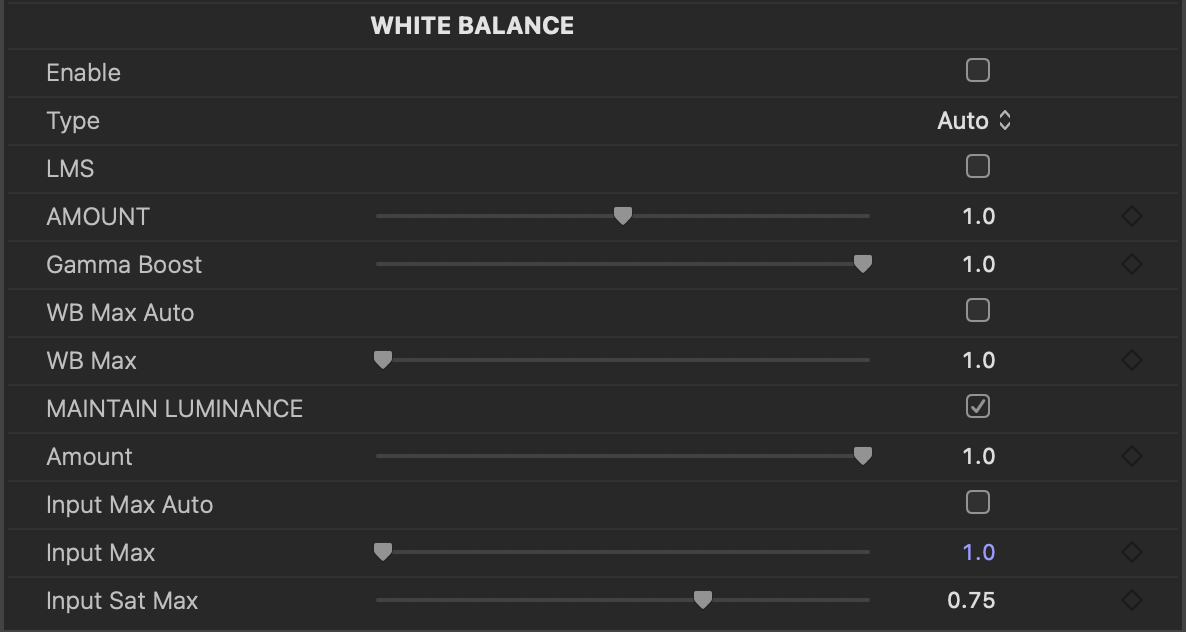
NB. Primary Correction has its own Tone Curve menu and White Balance is always linear.
Set the Tone Curve (transfer function) used for the Hue bands image processing.
Menu used only when Tone Curve Image is enabled in Configuration.
NB. Primary Correction has its own Tone Curve menu and White Balance is always linear.
.
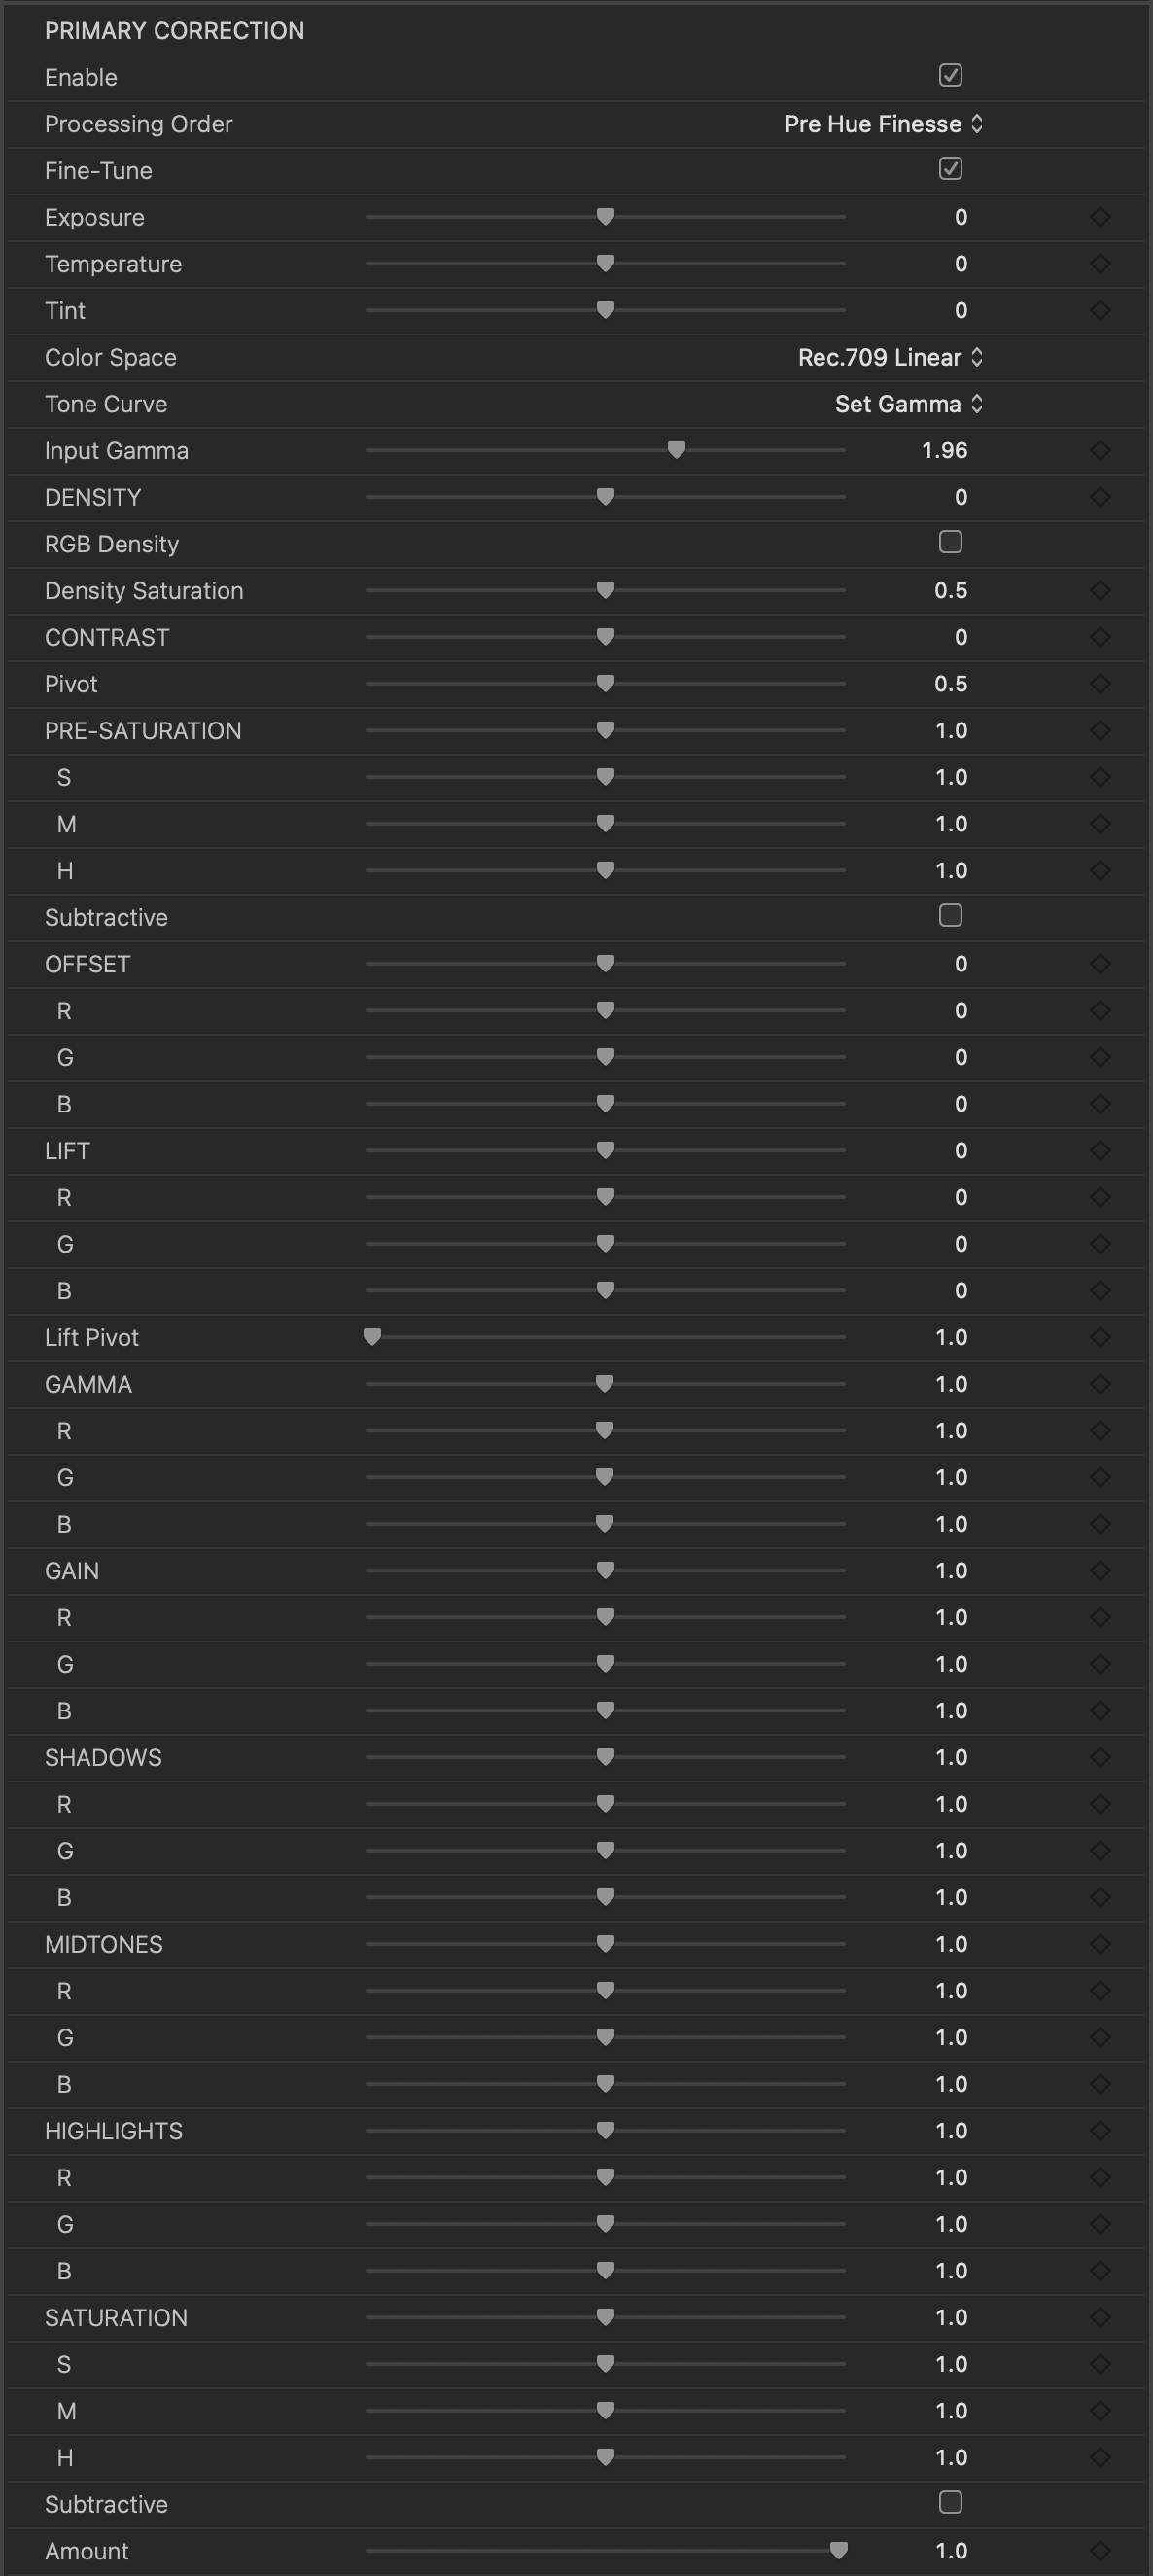
Set the Color Space of all of all Primary Correction parameters below this menu.
NB. Exposure, Temperature, Tint and Hue operations are always performed in the default linear color space of the plug-in.
This parameter controls the visibility of point parameters on-screen. Turn off this option to hide point parameters and get an unobstructed view of the output.Custom on-screen UI varies across video applications.
Enable the onscreen Shape controls.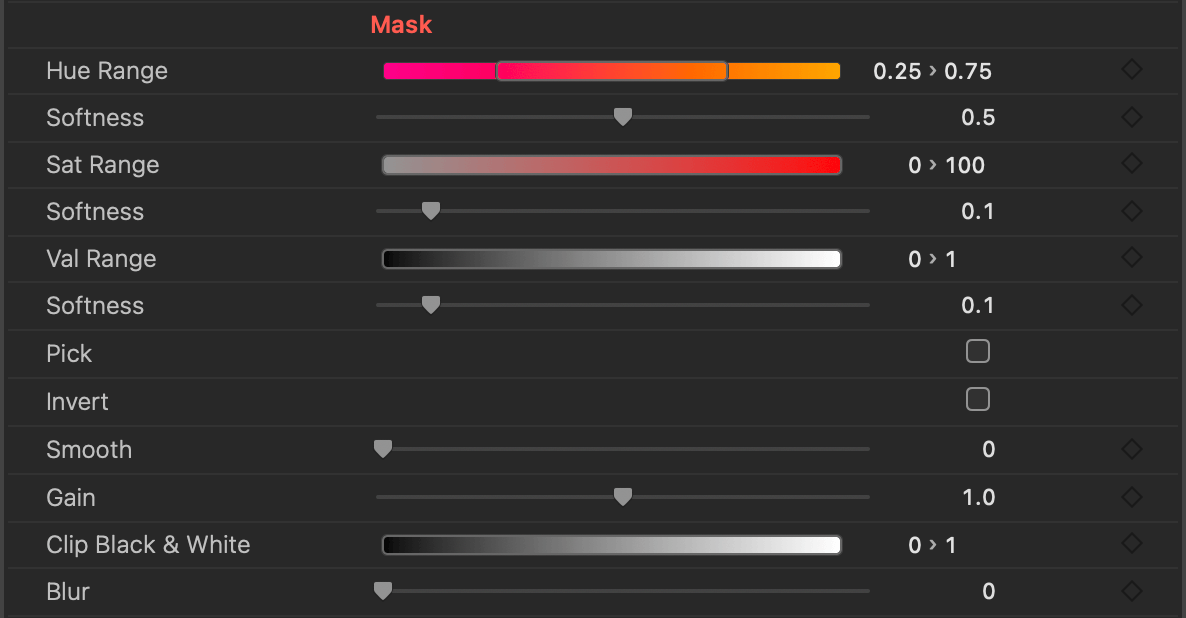
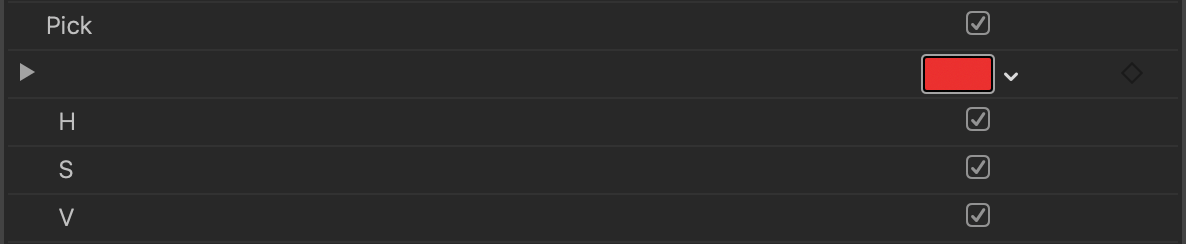
Enable to pick a color from the image. The hue, saturation and value of the pick is then mapped to the centre of the Hue Range, Sat Range and Val Range sliders, overriding the settings in the Configure
When disabled the hue of the pick is not used for the midpoint of the Hue Range slider and the setting in the Configuration group is used.
When disabled the saturation of the pick is not used for the midpoint of the Sat Range slider and the setting in the Configuration group is used.
When disabled the value of the pick is not used for the midpoint of the Val Range slider and the setting in the Configuration group is used.

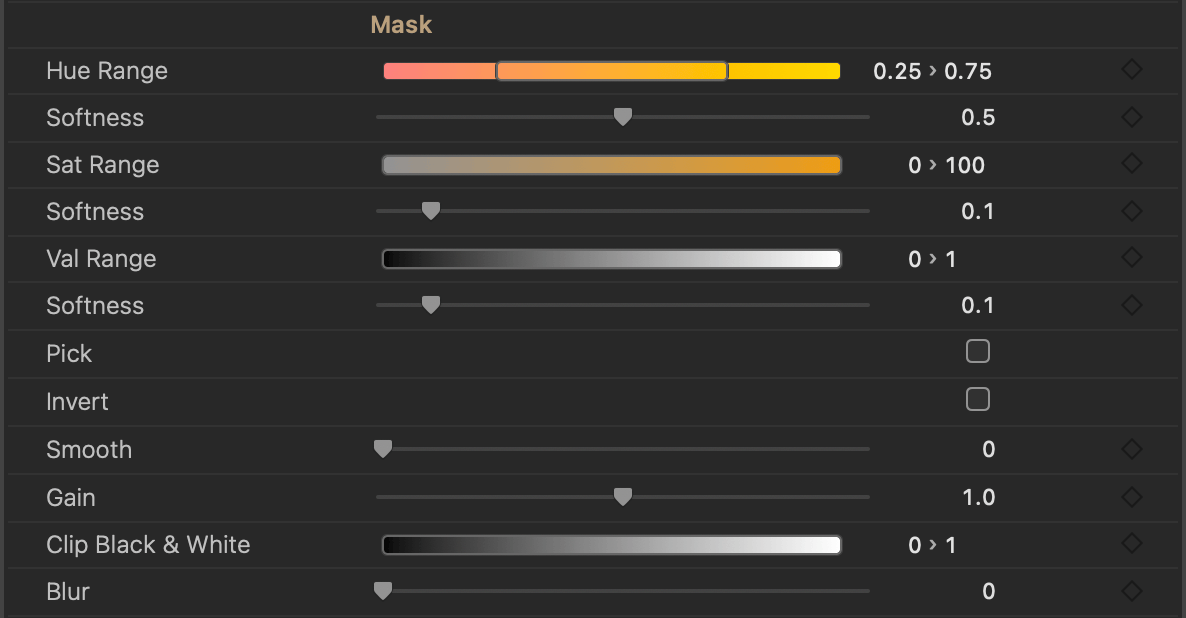
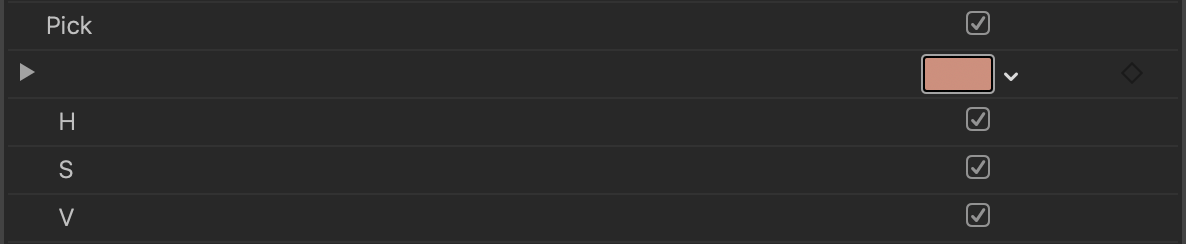
Enable to pick a color from the image. The hue, saturation and value of the pick is then mapped to the centre of the Hue Range, Sat Range and Val Range sliders, overriding the settings in the Configure
When disabled the hue of the pick is not used for the midpoint of the Hue Range slider and the setting in the Configuration group is used.
When disabled the saturation of the pick is not used for the midpoint of the Sat Range slider and the setting in the Configuration group is used.
When disabled the value of the pick is not used for the midpoint of the Val Range slider and the setting in the Configuration group is used.
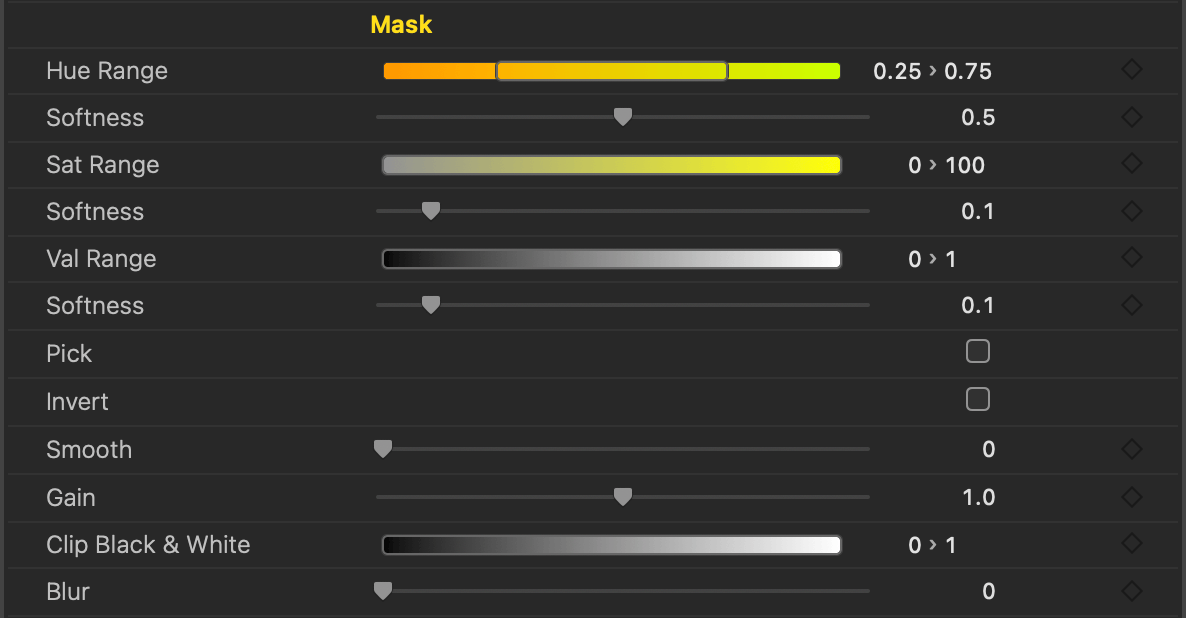
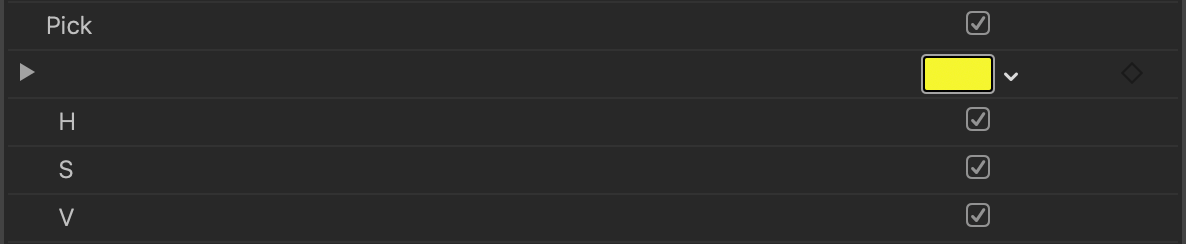
Enable to pick a color from the image. The hue, saturation and value of the pick is then mapped to the centre of the Hue Range, Sat Range and Val Range sliders, overriding the settings in the Configure
When disabled the hue of the pick is not used for the midpoint of the Hue Range slider and the setting in the Configuration group is used.
When disabled the saturation of the pick is not used for the midpoint of the Sat Range slider and the setting in the Configuration group is used.
When disabled the value of the pick is not used for the midpoint of the Val Range slider and the setting in the Configuration group is used.
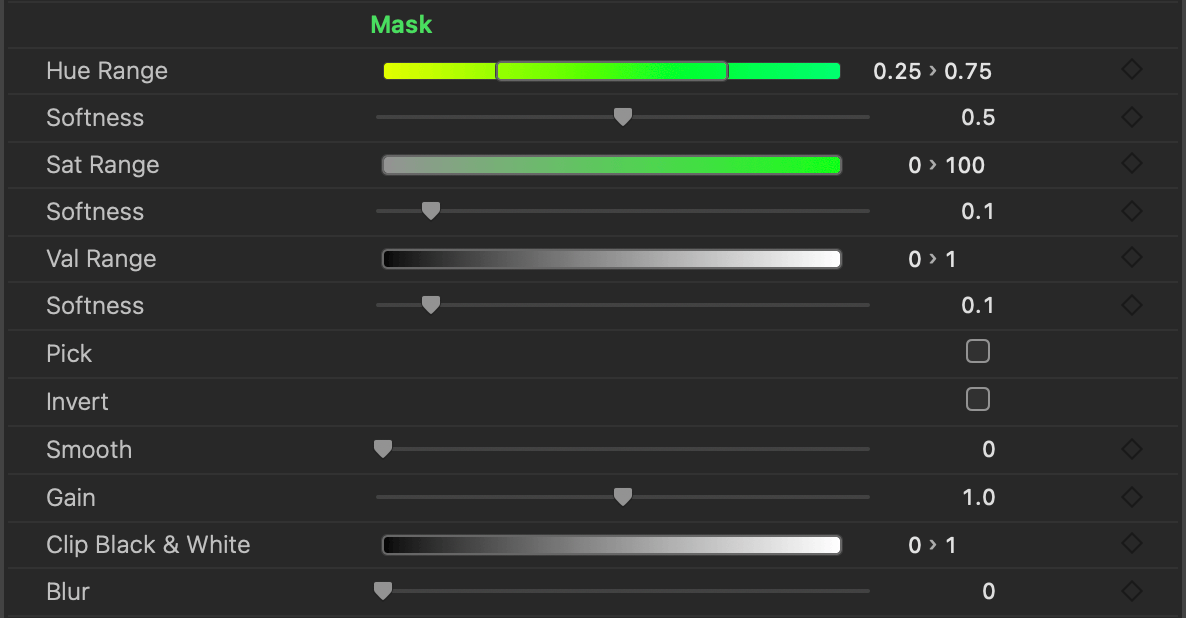
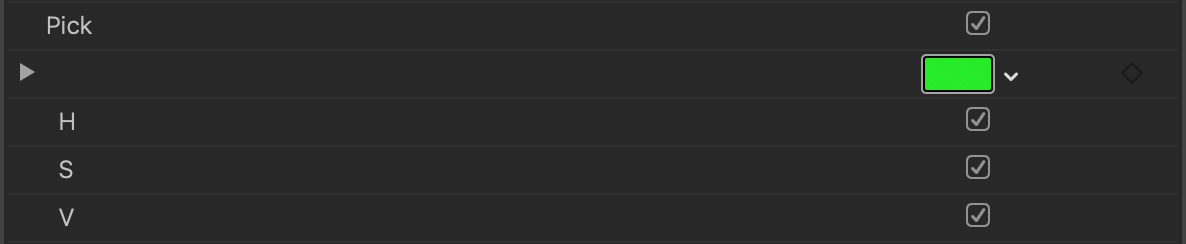
Enable to pick a color from the image. The hue, saturation and value of the pick is then mapped to the centre of the Hue Range, Sat Range and Val Range sliders, overriding the settings in the Configure
When disabled the hue of the pick is not used for the midpoint of the Hue Range slider and the setting in the Configuration group is used.
When disabled the saturation of the pick is not used for the midpoint of the Sat Range slider and the setting in the Configuration group is used.
When disabled the value of the pick is not used for the midpoint of the Val Range slider and the setting in the Configuration group is used.
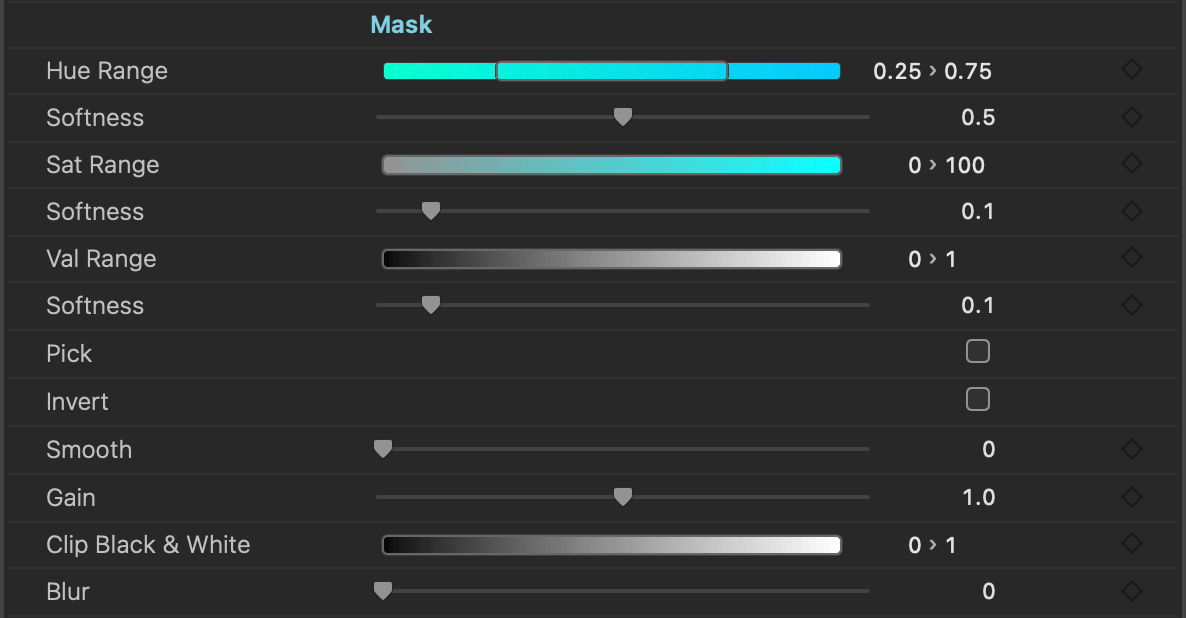
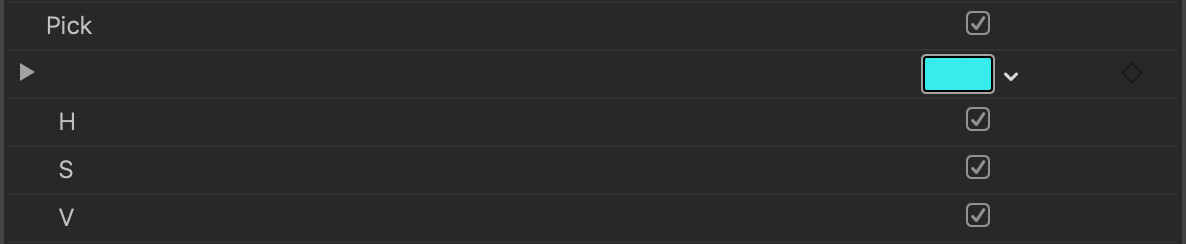
Enable to pick a color from the image. The hue, saturation and value of the pick is then mapped to the centre of the Hue Range, Sat Range and Val Range sliders, overriding the settings in the Configure
When disabled the hue of the pick is not used for the midpoint of the Hue Range slider and the setting in the Configuration group is used.
When disabled the saturation of the pick is not used for the midpoint of the Sat Range slider and the setting in the Configuration group is used.
When disabled the value of the pick is not used for the midpoint of the Val Range slider and the setting in the Configuration group is used.
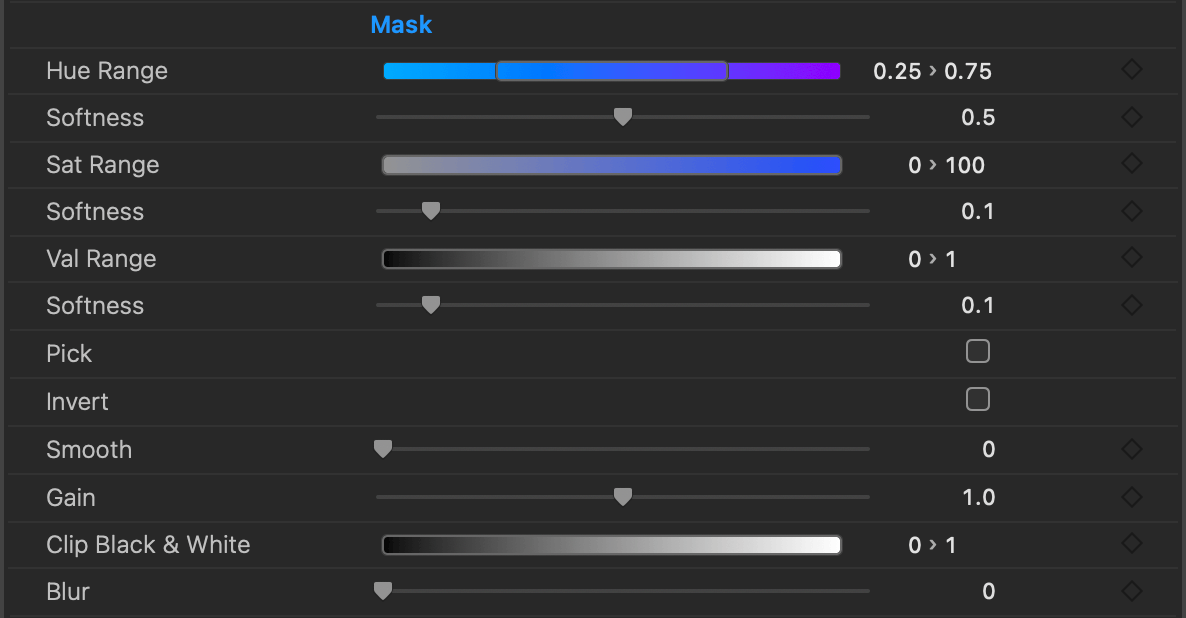
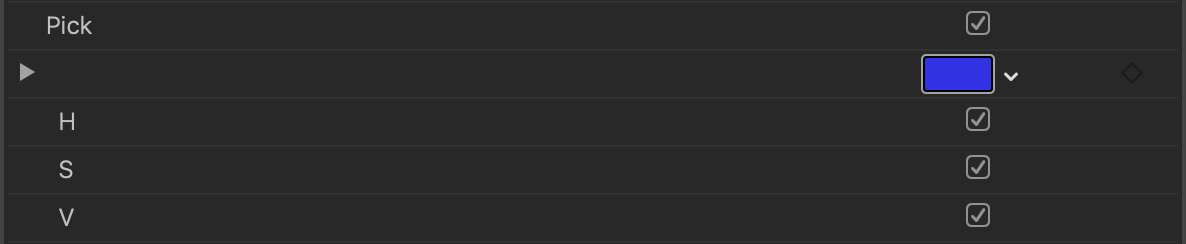
Enable to pick a color from the image. The hue, saturation and value of the pick is then mapped to the centre of the Hue Range, Sat Range and Val Range sliders, overriding the settings in the Configure
When disabled the hue of the pick is not used for the midpoint of the Hue Range slider and the setting in the Configuration group is used.
When disabled the saturation of the pick is not used for the midpoint of the Sat Range slider and the setting in the Configuration group is used.
When disabled the value of the pick is not used for the midpoint of the Val Range slider and the setting in the Configuration group is used.
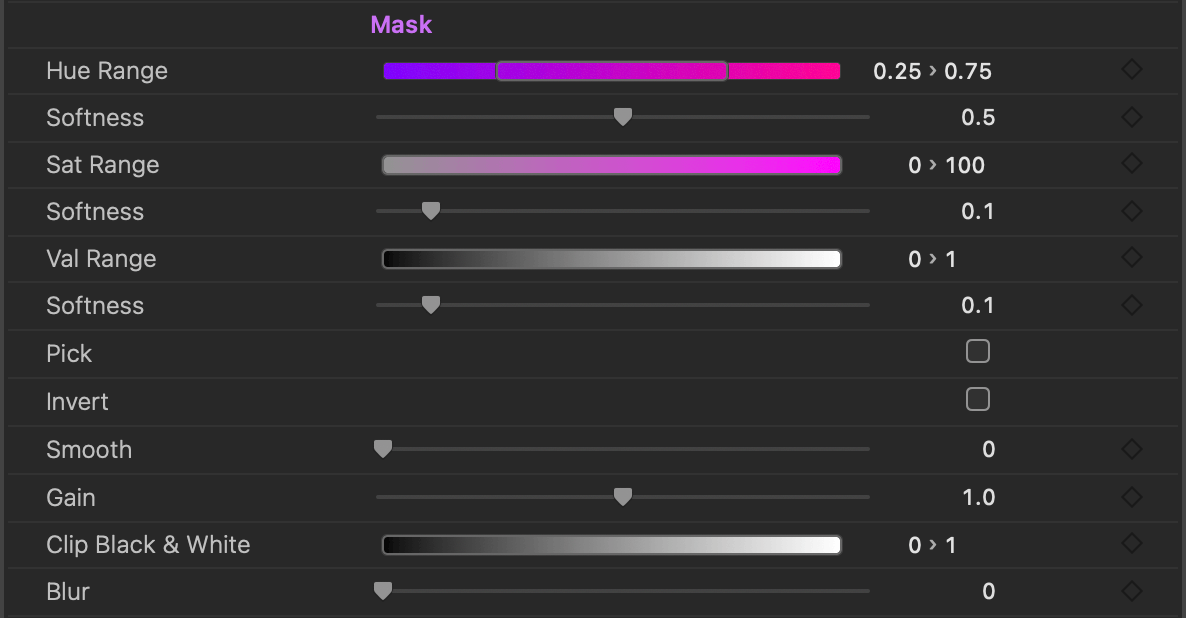
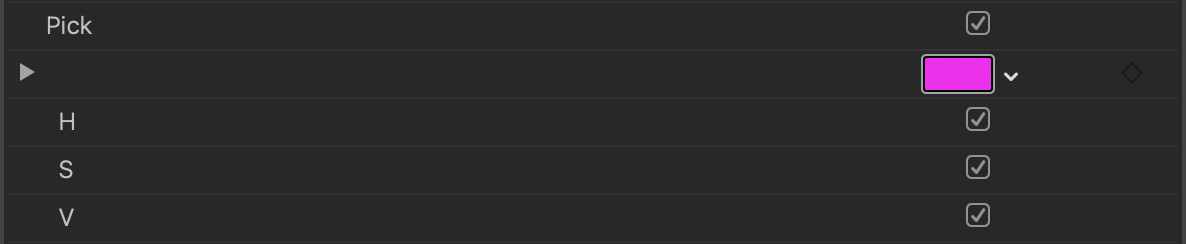
Enable to pick a color from the image. The hue, saturation and value of the pick is then mapped to the centre of the Hue Range, Sat Range and Val Range sliders, overriding the settings in the Configure
When disabled the hue of the pick is not used for the midpoint of the Hue Range slider and the setting in the Configuration group is used.
When disabled the saturation of the pick is not used for the midpoint of the Sat Range slider and the setting in the Configuration group is used.
When disabled the value of the pick is not used for the midpoint of the Val Range slider and the setting in the Configuration group is used.
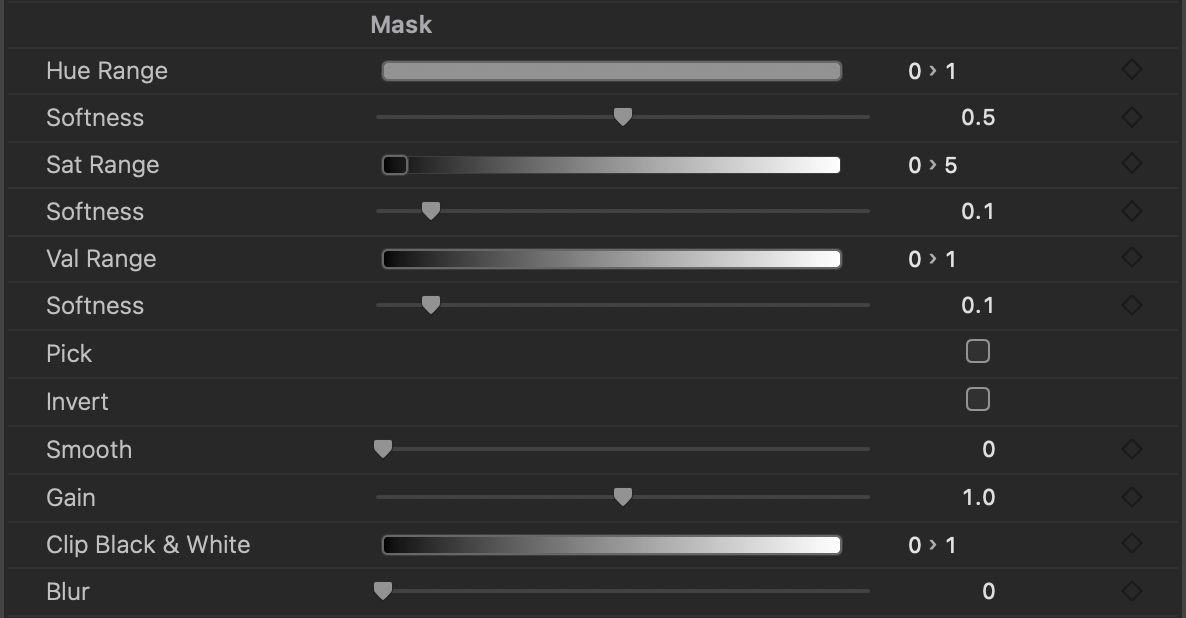
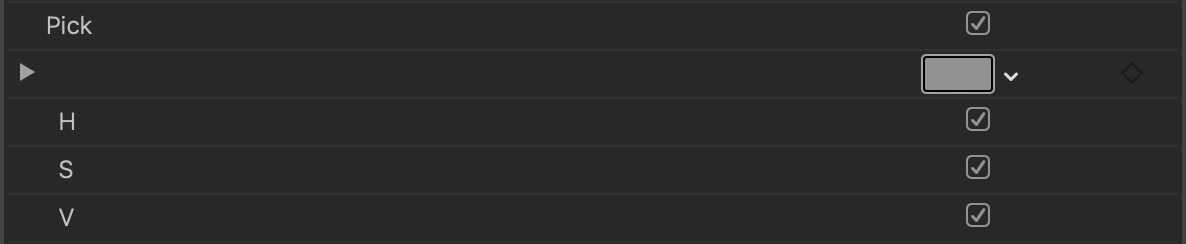
Enable to pick a color from the image. The hue, saturation and value of the pick is then mapped to the centre of the Hue Range, Sat Range and Val Range sliders, overriding the settings in the Configure
When disabled the hue of the pick is not used for the midpoint of the Hue Range slider and the setting in the Configuration group is used.
When disabled the saturation of the pick is not used for the midpoint of the Sat Range slider and the setting in the Configuration group is used.
When disabled the value of the pick is not used for the midpoint of the Val Range slider and the setting in the Configuration group is used.
Saves and loads the controls of the Configure group. Presets made in one host open in every other. Working with presets
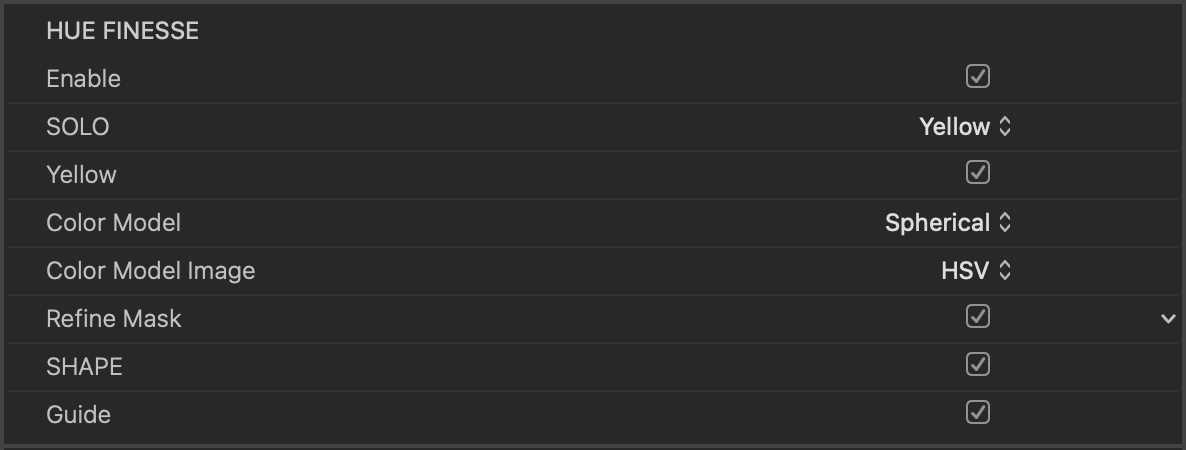
When enabled a second Color Model menu appears in the HUE FINESSE group - Color Model Image. This sets the model used for image processing while the existing Color Model menu continues to set the model used for the masks.
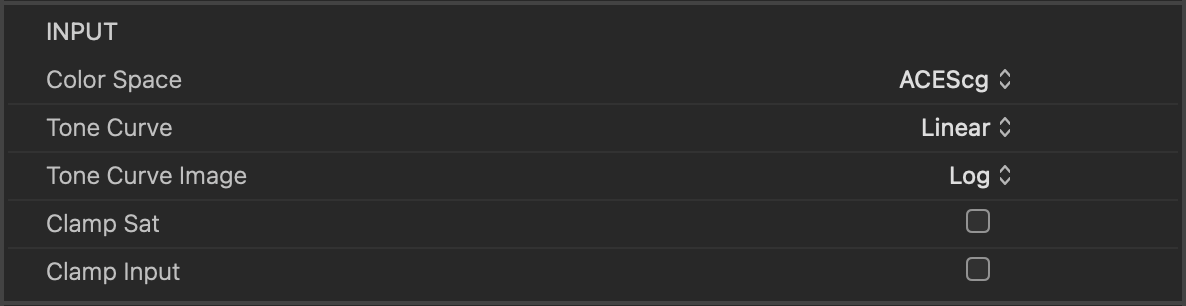
When enabled a second Tone Curve menu appears in the INPUT group - Tone Curve Image. This sets the tone curve used for image processing while the existing Tone Curve menu continues to set the tone curve used for the masks.
Set the midpoint of the Hue used in the Grey Hue Range slider.
Changing this settings allows you to use the Grey band like the other hue bands and target a specific hue.
Set the tolerance of Hue used in the Grey Hue Range slider. By default it encompasses all Hues.
Changing this setting allows you to use the Grey band like the other hue bands and target a specific hue.
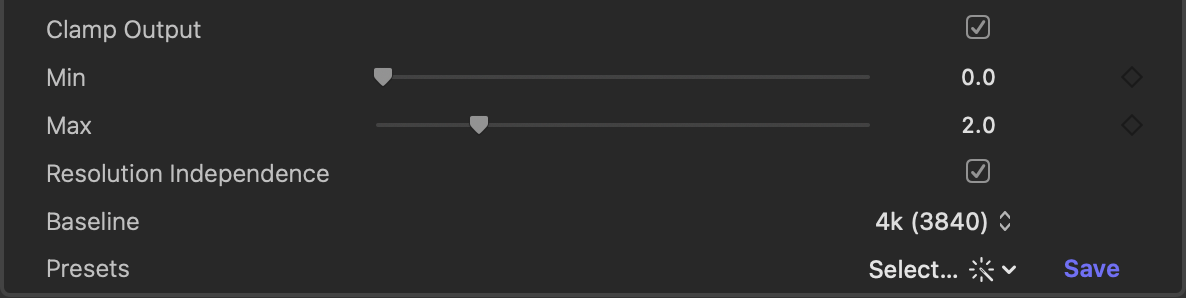
Enable clamping of output values.
Maintain consistent effects when changing resolution.
Resolution Independent Parameters :
Saves and loads a snapshot of every control. Presets made in one host open in every other. Working with presets
Onscreen controls, such as the Shape mask’s rectangle, are drawn in the viewer of Final Cut Pro and Motion, and in the Program monitor or Composition panel of Premiere Pro and After Effects when the effect is selected. Drag them to adjust the control.
Presets are designed to make the following tasks easier for you:
Most plug-ins offer only one parameter to work with presets in the inspector. The features you can access through the inspector vary from one effect to the next. This document describes the basic functionality of a presets parameter and its popup menu.
If the plug-in includes factory-made presets, they are easily accessible under the popup menu:
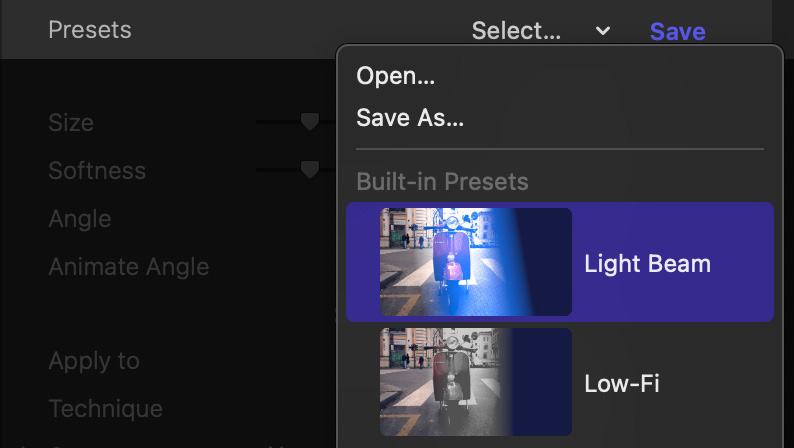
Built-in presets may sport a thumbnail preview to make their effect more obvious. Select a preset to apply it.
The fastest way to save current effect configuration to a file is to click the Save button that appears in the inspector, to the right of the popup menu:

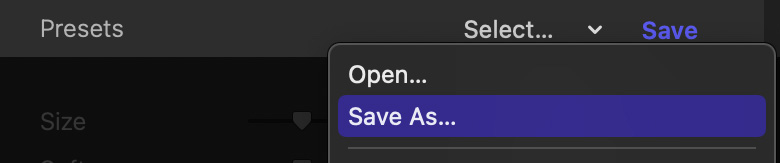
You can also save a preset by selecting the Save As… command under the presets menu:
To load a preset file, select the Open… command under the presets popup menu:
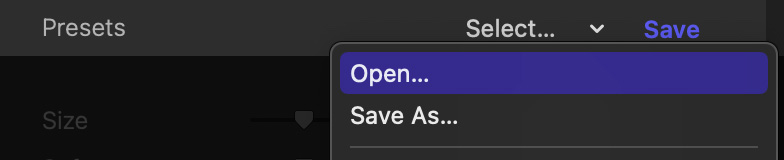
Select a preset created by the same plug-in.
Please note that some plugins offer presets in more than one location in the parameter inspector. A plugin may limit your ability to save or load preset files to the topmost parameter only. When plug-ins follow this approach, the corresponding button and menu commands may be missing.
Details on Preset File Compatibility
If the preset file was created by the same version of the plug-in, you can load the preset from any video applications the plug-in is available in.
For example: you can create a preset in Final Cut Pro and load it from the same plug-in in Premiere Pro.
In most cases, you can also load preset files created by previous versions of the plug-in. If a new version of the plug-in introduces significant changes to its effect configuration, you may notice that older preset files may no longer be accessible.
When you first ask the plug-in to save a new preset file, the location on disk will default to a special Presets folder located under your Home:
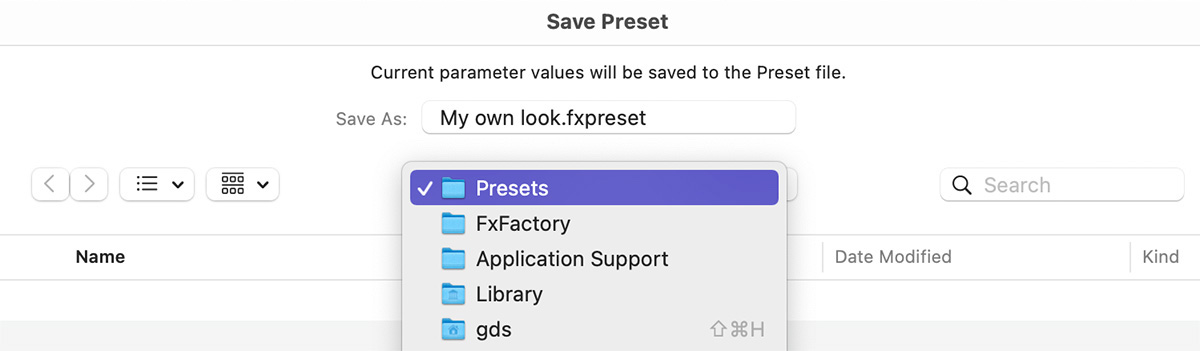
If you allow the preset file to be saved at that location, it will automatically appear under the presets popup menu, for quick access:
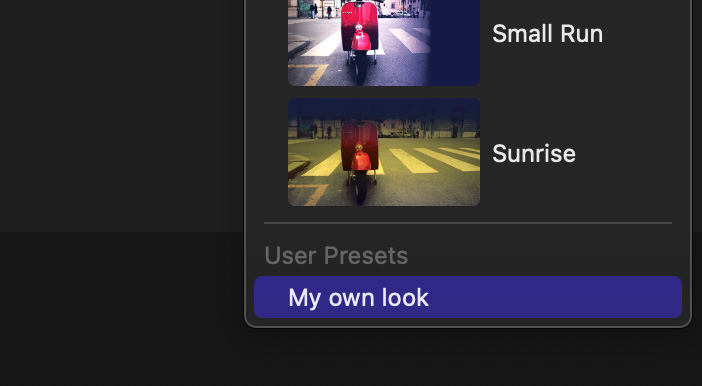
The above demonstrates the advantage of saving your own preset files at this pre-defined location:
Home → Library → Application Support → FxFactory → PresetsAny presets located in that folder will automatically show up under the presets menu. This is not a requirement, since presets can be saved anywhere on disk and shared with other users or systems simply by copying the file.
This parameter lets you track up to 4 objects in your video. When object tracking is complete, keyframes that follow the motion of the objects over time are automatically created.
The object tracker can be controlled on-screen in Final Cut Pro and Motion:


For more information on how to display on-screen controls in the Canvas:
Displaying on-screen controlsObjects can be tracked forward or backward relative to the current playhead location in your timeline. In most cases, you will want to position the playhead at the start of the clip:
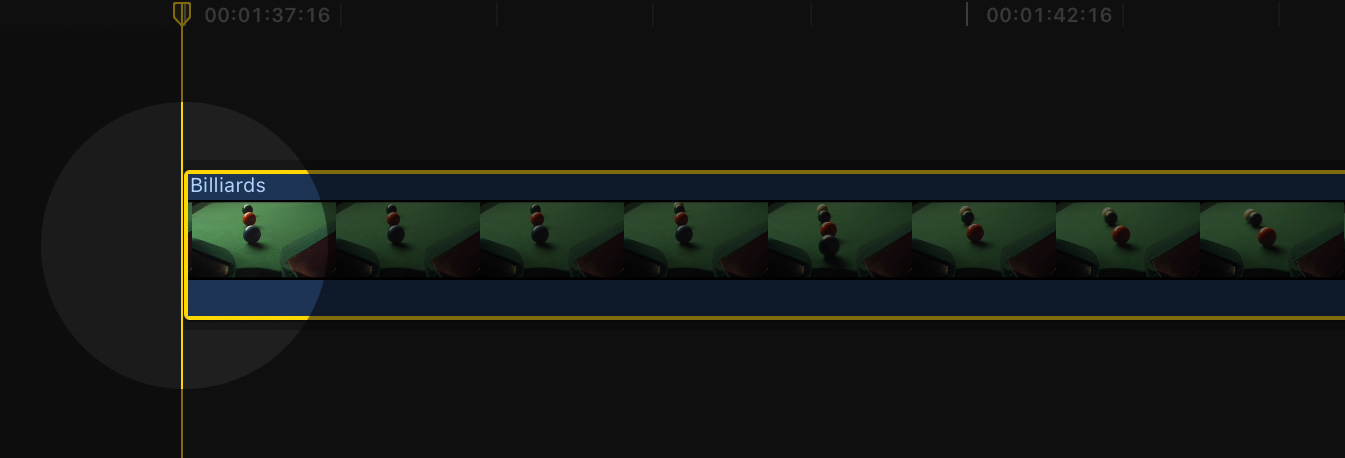
Make sure the desired number of objects is selected under the Tracking Objects in Video menu to prepare for tracking:

Position and resize the region around the object to be tracked:
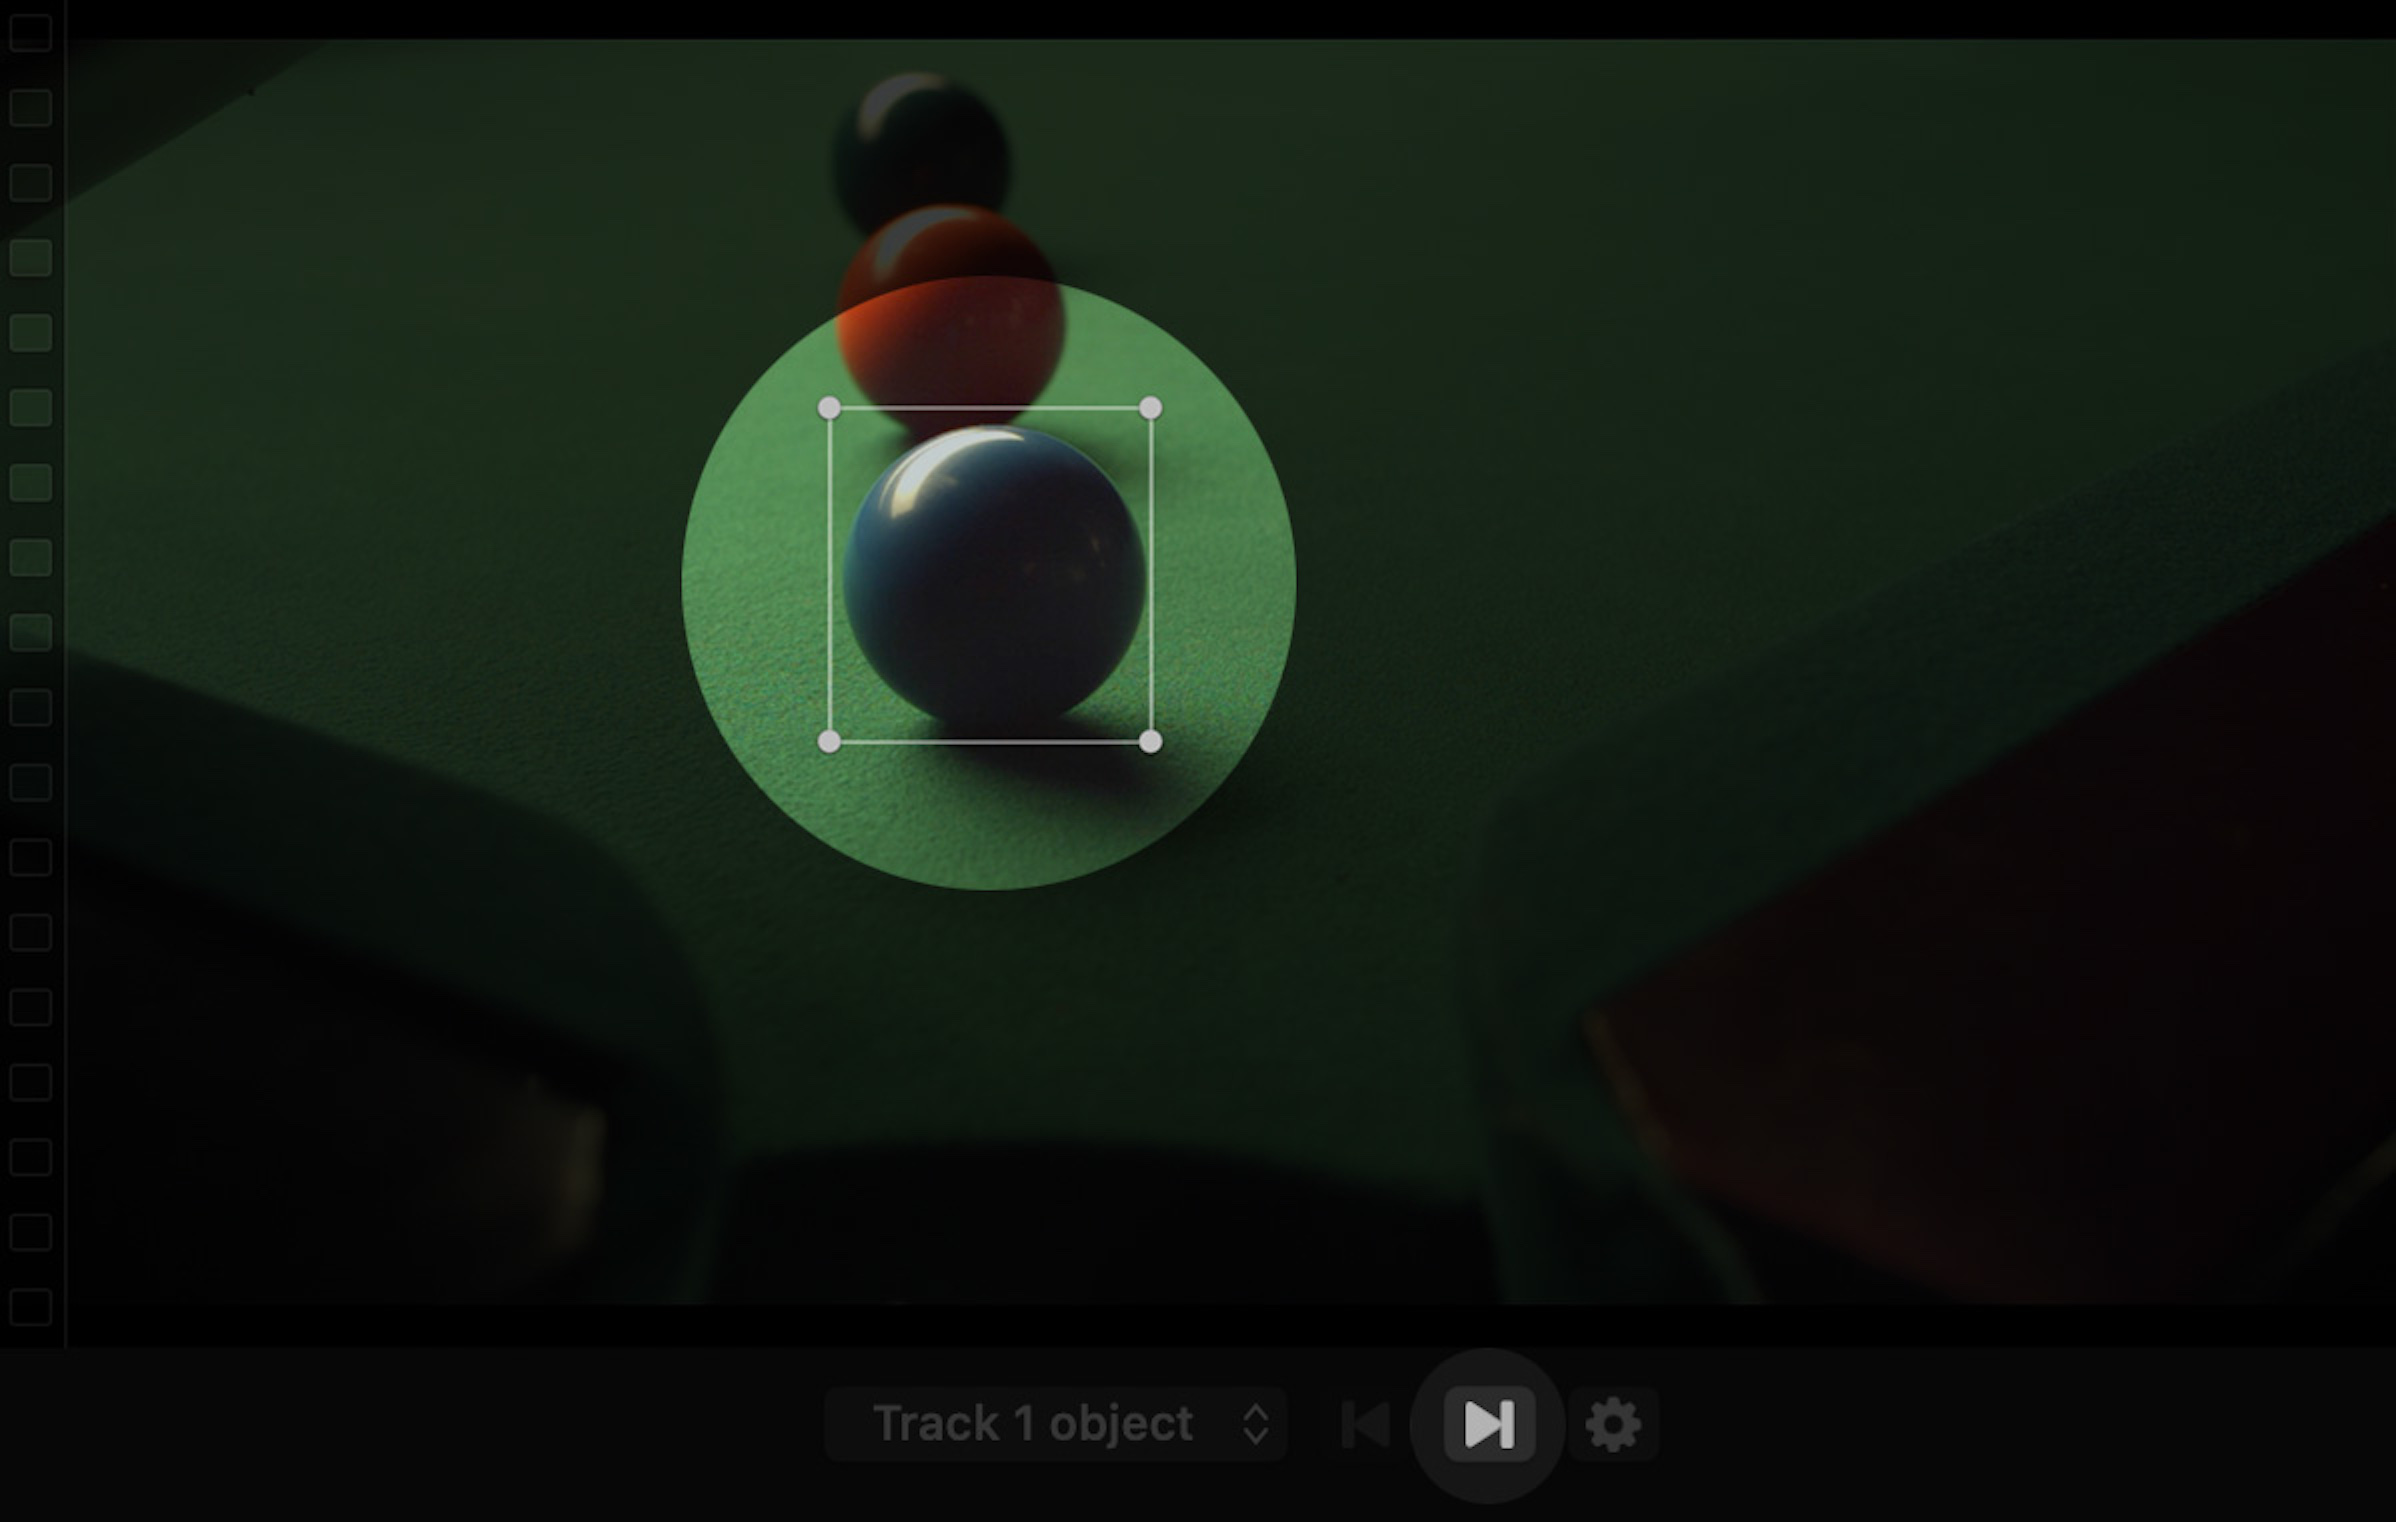
Click the Track Forward button to begin analysis:

A window reports progress made so far:
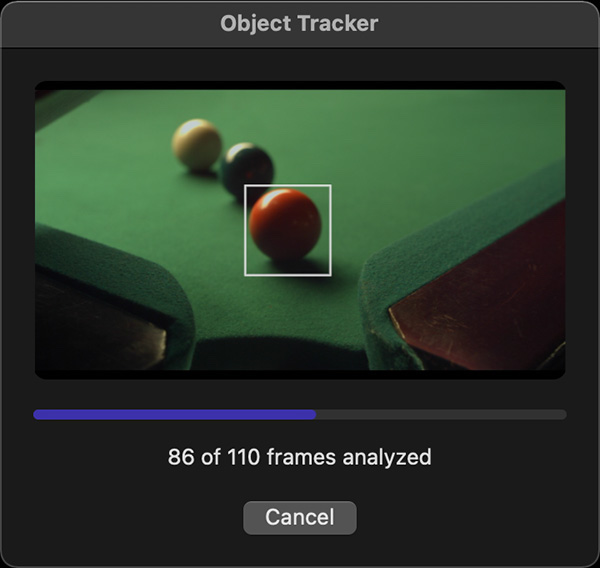
Click the Cancel button if you notice that the analysis seems to be following an object incorrectly. Reposition and resize the region before attempting to track the same object again.
When the analysis is complete, keyframes are created to follow the objects along their path.
When object tracking analysis is complete, the rectangular selection around each tracked object follows the object along its detected path.
Make sure the on-screen controls are currently visible in the Canvas in order to see and manipulate the region around each tracked object. Note that each video application has different rules for when on-screen controls are visible in the Canvas.
As you step forward or backward by a single frame, you may drag the region to the desired location. If the motion path seems to wander off by a significant amount, you can click the Track Forward or Track Backward buttons to restart the analysis after applying the desired corrections.
You may also step through all frames where the analysis did a poor job of tracking the object, and manually reposition the region to match the actual location of the object. This gives you the flexibility to use automatic object tracking to estimate a motion path, while making fine-grained adjustments for the perfect results.
Transcoding media to ProRES can greatly improve performance of common tasks that involve third-party effects. Create Optimized Media in Final Cut Pro by right-clicking on the clip and selecting the Transcode Media... command:
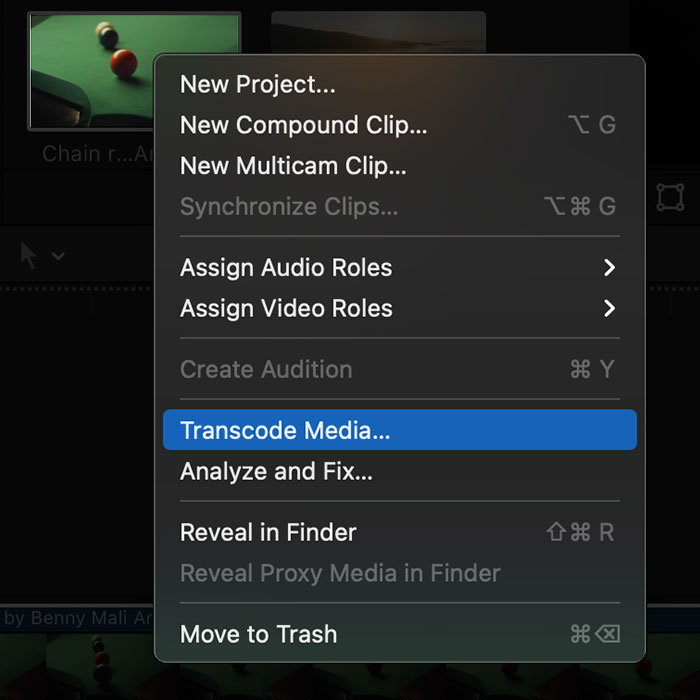
On the next dialog, enable the Create optimized media option and click the OK button to confirm:
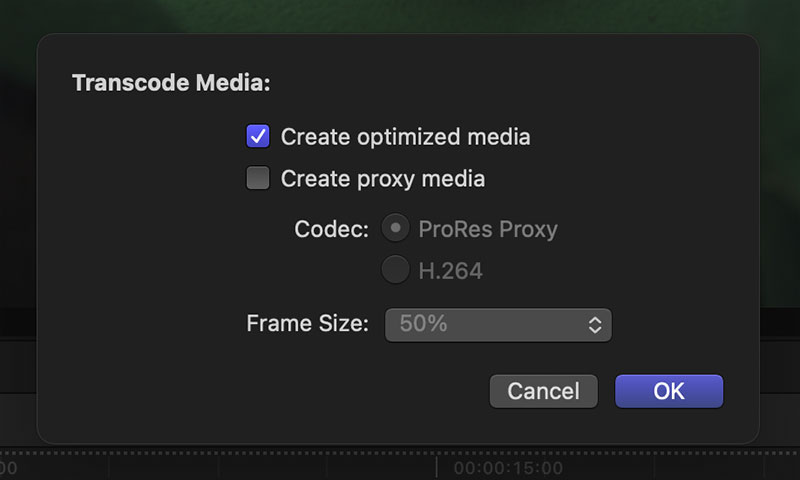
If the option cannot be enabled, optimized media is already available for the selected clip.